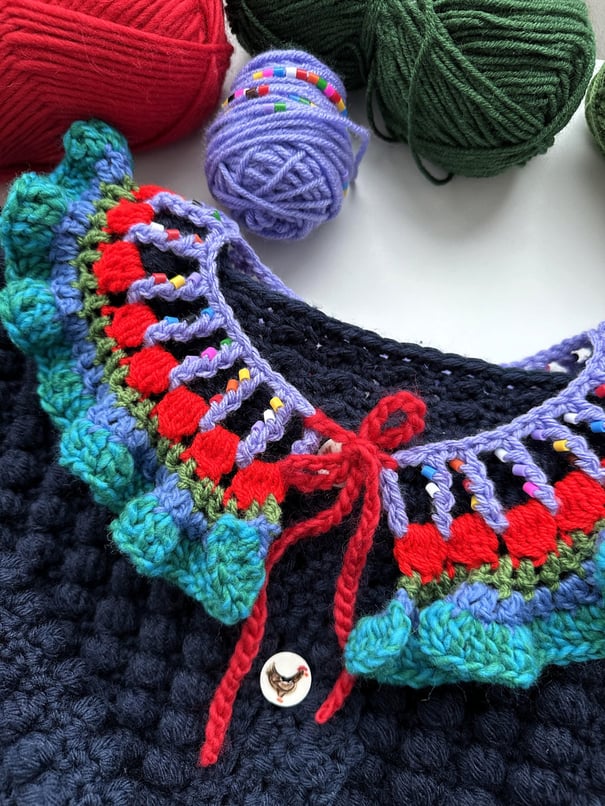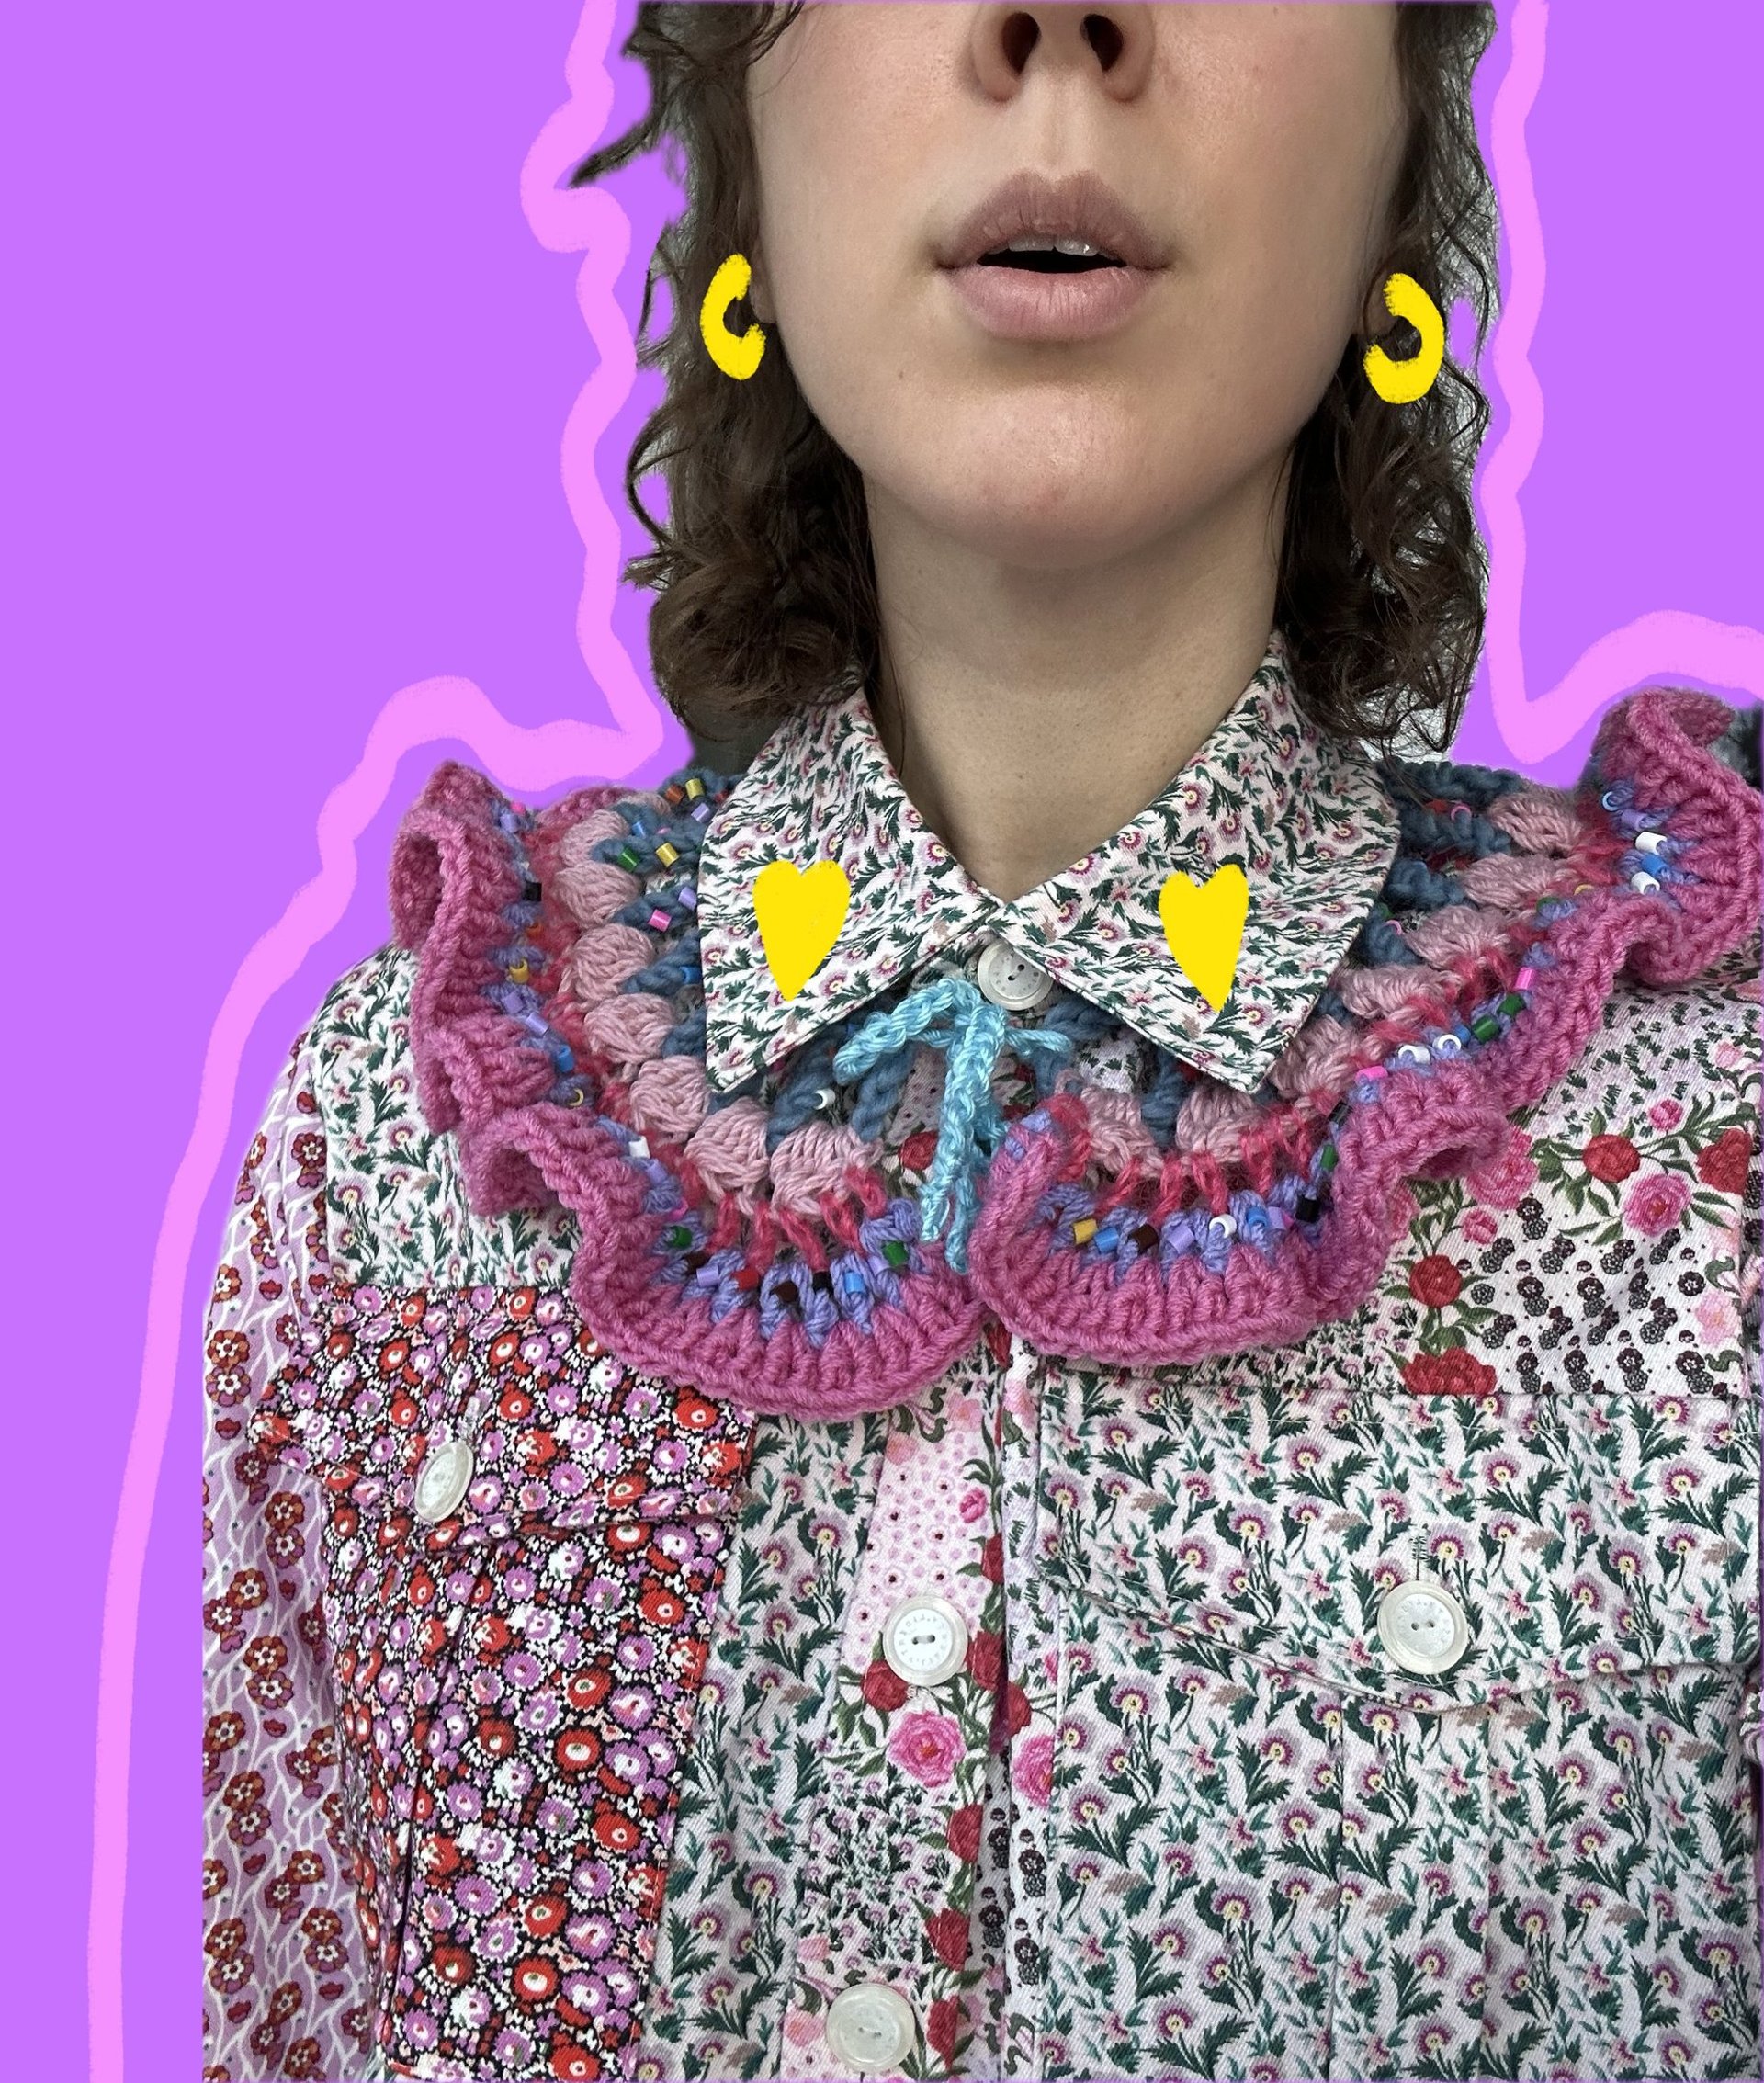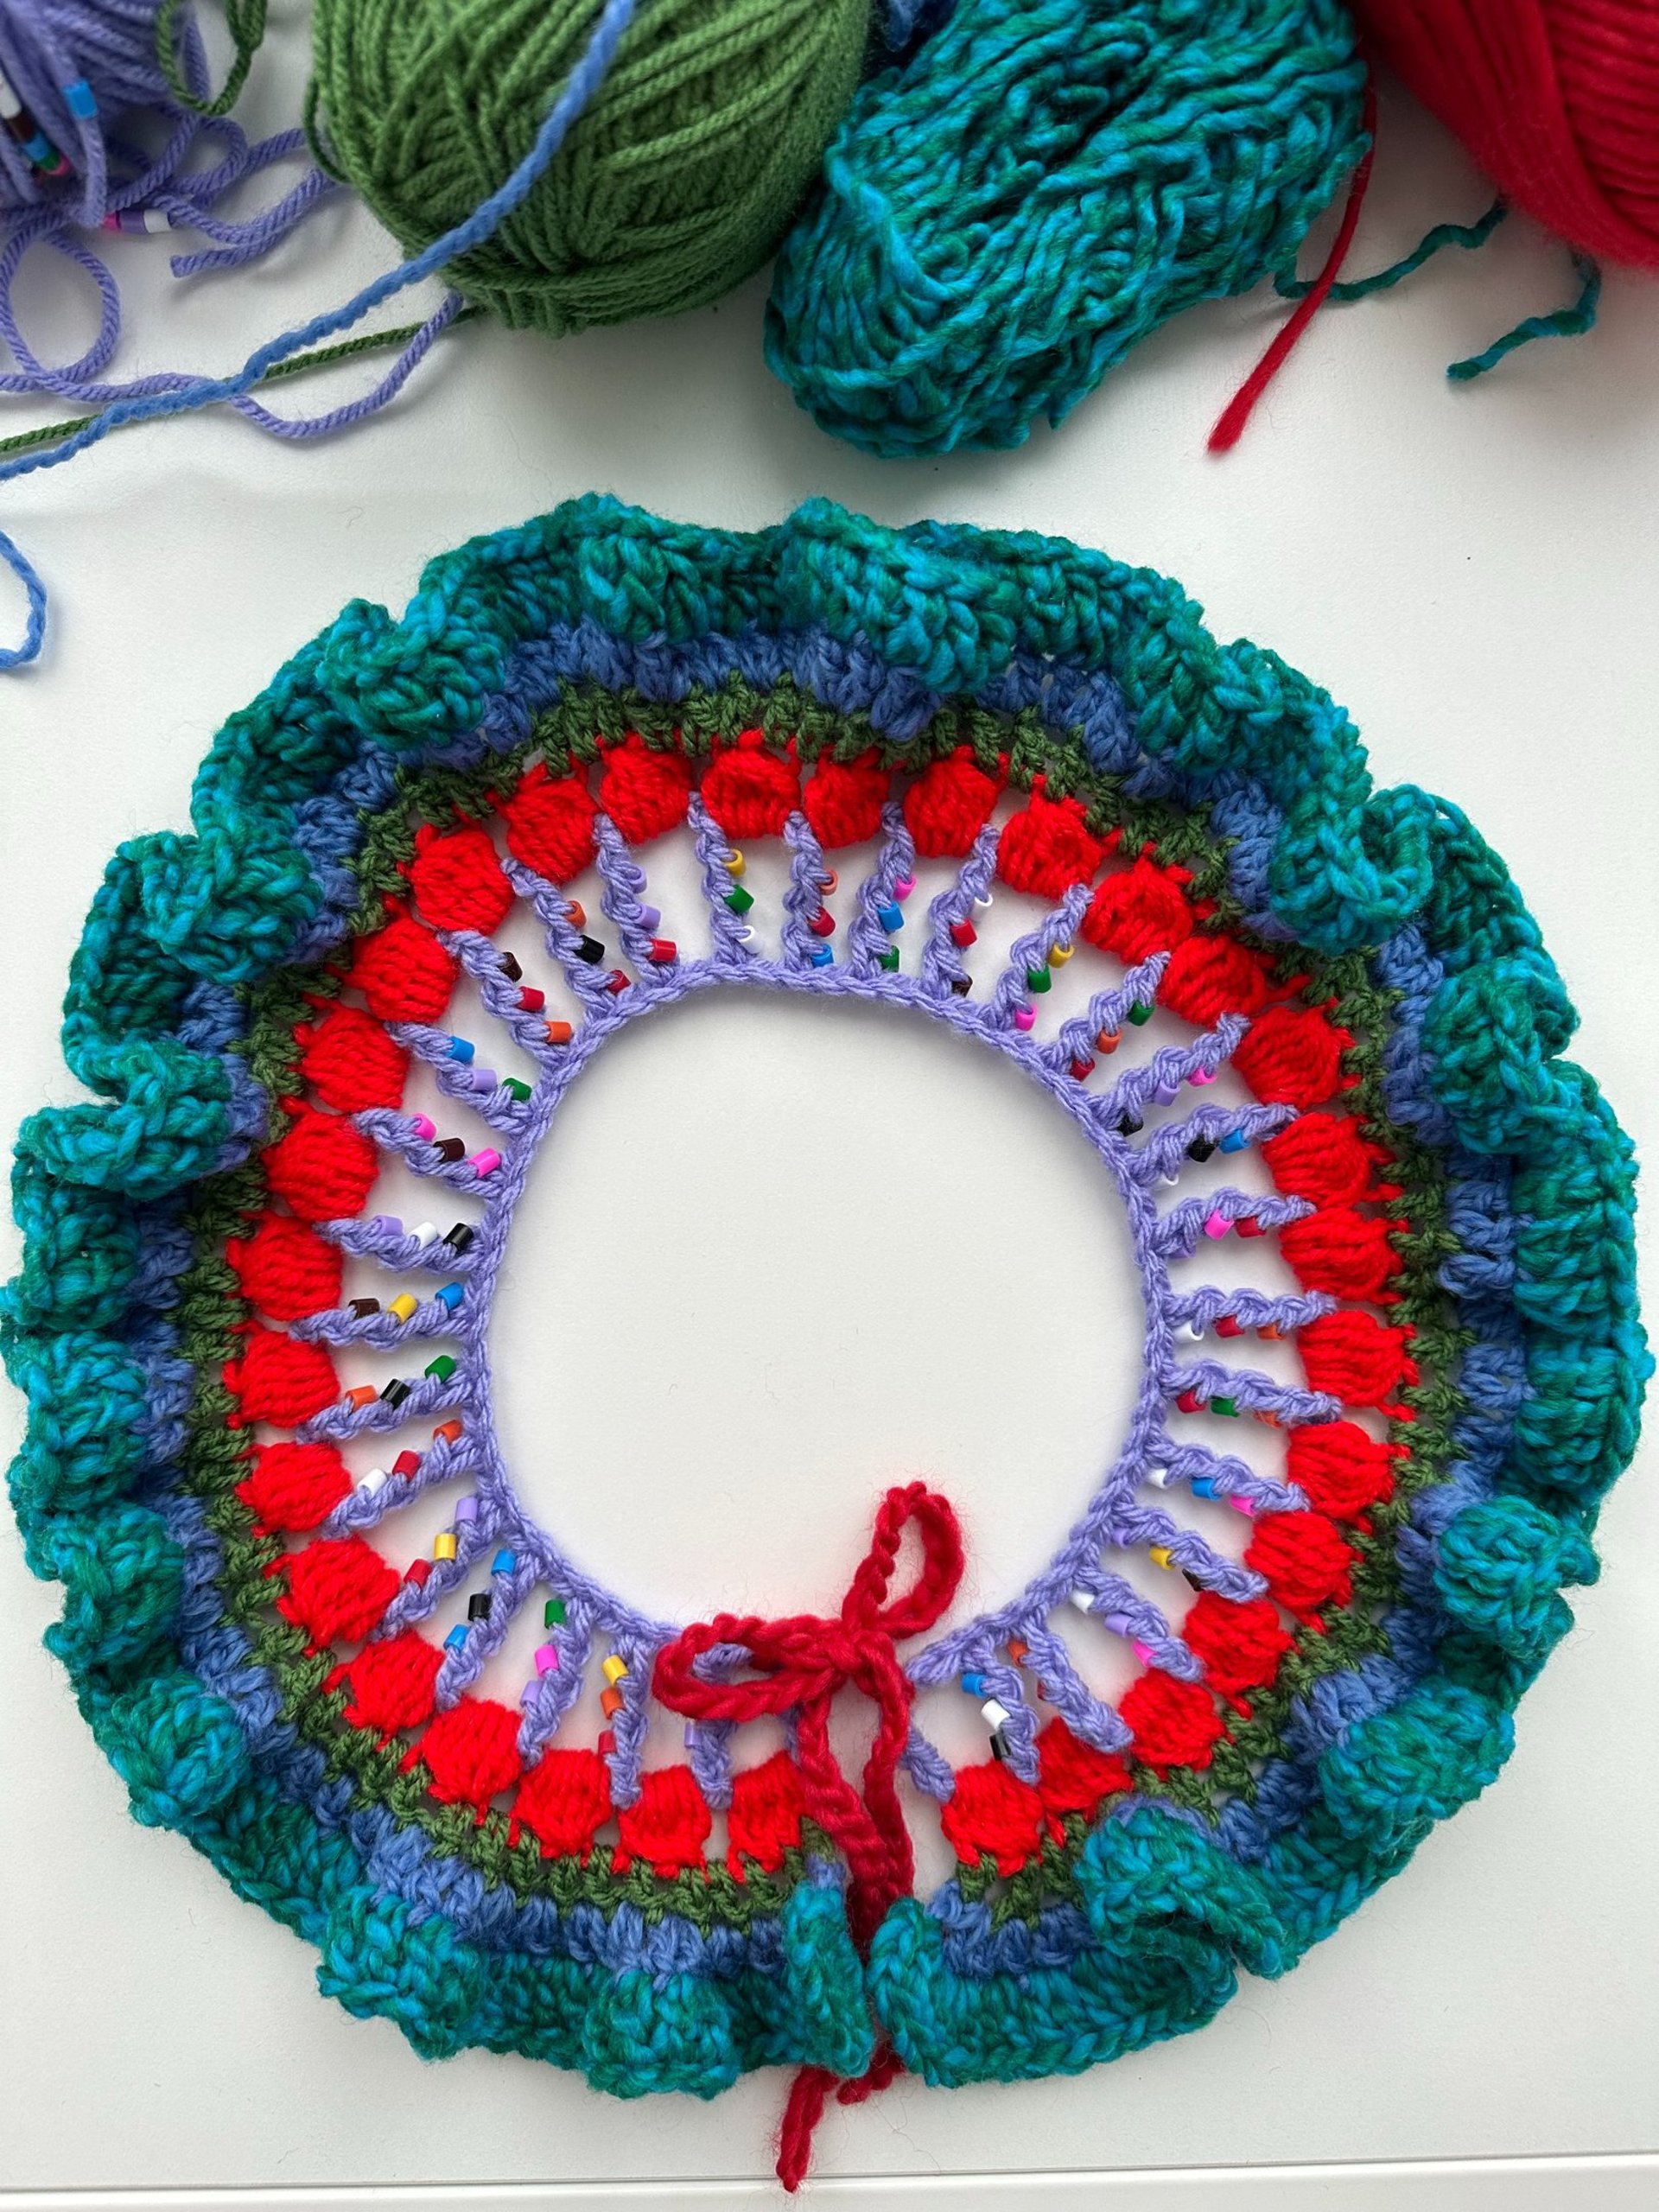
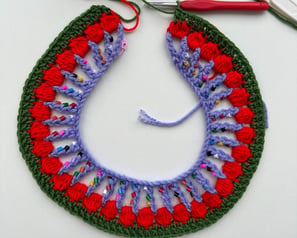
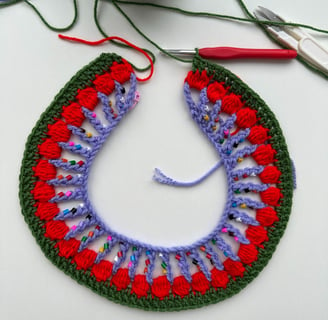
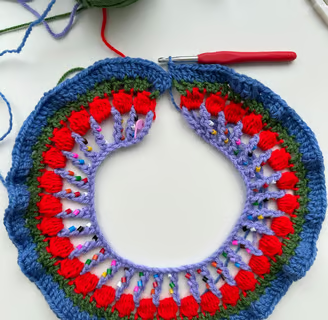
Okay, tell me about a cuter crochet pattern that would be super easy to make, the best accessory for any outfit, and you could use your scrap yarn that you couldn't find a use for in months (there are probably a few, but let me have my moment; I am super proud of this, hihi). No extra sentences needed. See this cutie yourself. Let's get to making!
Difficulty
Easy. I've included plenty of photos and a video to make this crochet journey as relaxing as possible.
Supplies
Yarn: Feel free to use your scrap yarn; there are no specific yarn requirements for this pattern.
Hook: I used a 6mm hook, but if you are planning to use yarn with different thickness, feel free to use hooks accordingly to your yarn and needs.
Stitch Markers: Highly recommended, as they prevent easily-made mistakes.
Scissors
Beads: (Optional, but a very cute addition to your design)
Yarn needle
Measuring Tape
Abbreviations
ch – chain stitch
sp - space
dc – double crochet
qtr - quadruple triple crochet (just sounds scary)
sl st – slip stitch
st(s) – stitch(es)
Pattern Notes
Feel free to experiment with different yarns. You might be surprised by the beautiful and unique variations that can result from mixing various textures and colors.
If you prefer smaller ruffles, instead of 2dc in every stitch (st), make 2dc in every other stitch (st). Similarly, if you desire larger ruffles, make 3dc (also known as a granny cluster) in every stitch.
You can add as many layers as you want, depending on whether you want your collar to be big or small.
Ensure your first base chain space number is even.
We will be working on the 'right' side only.
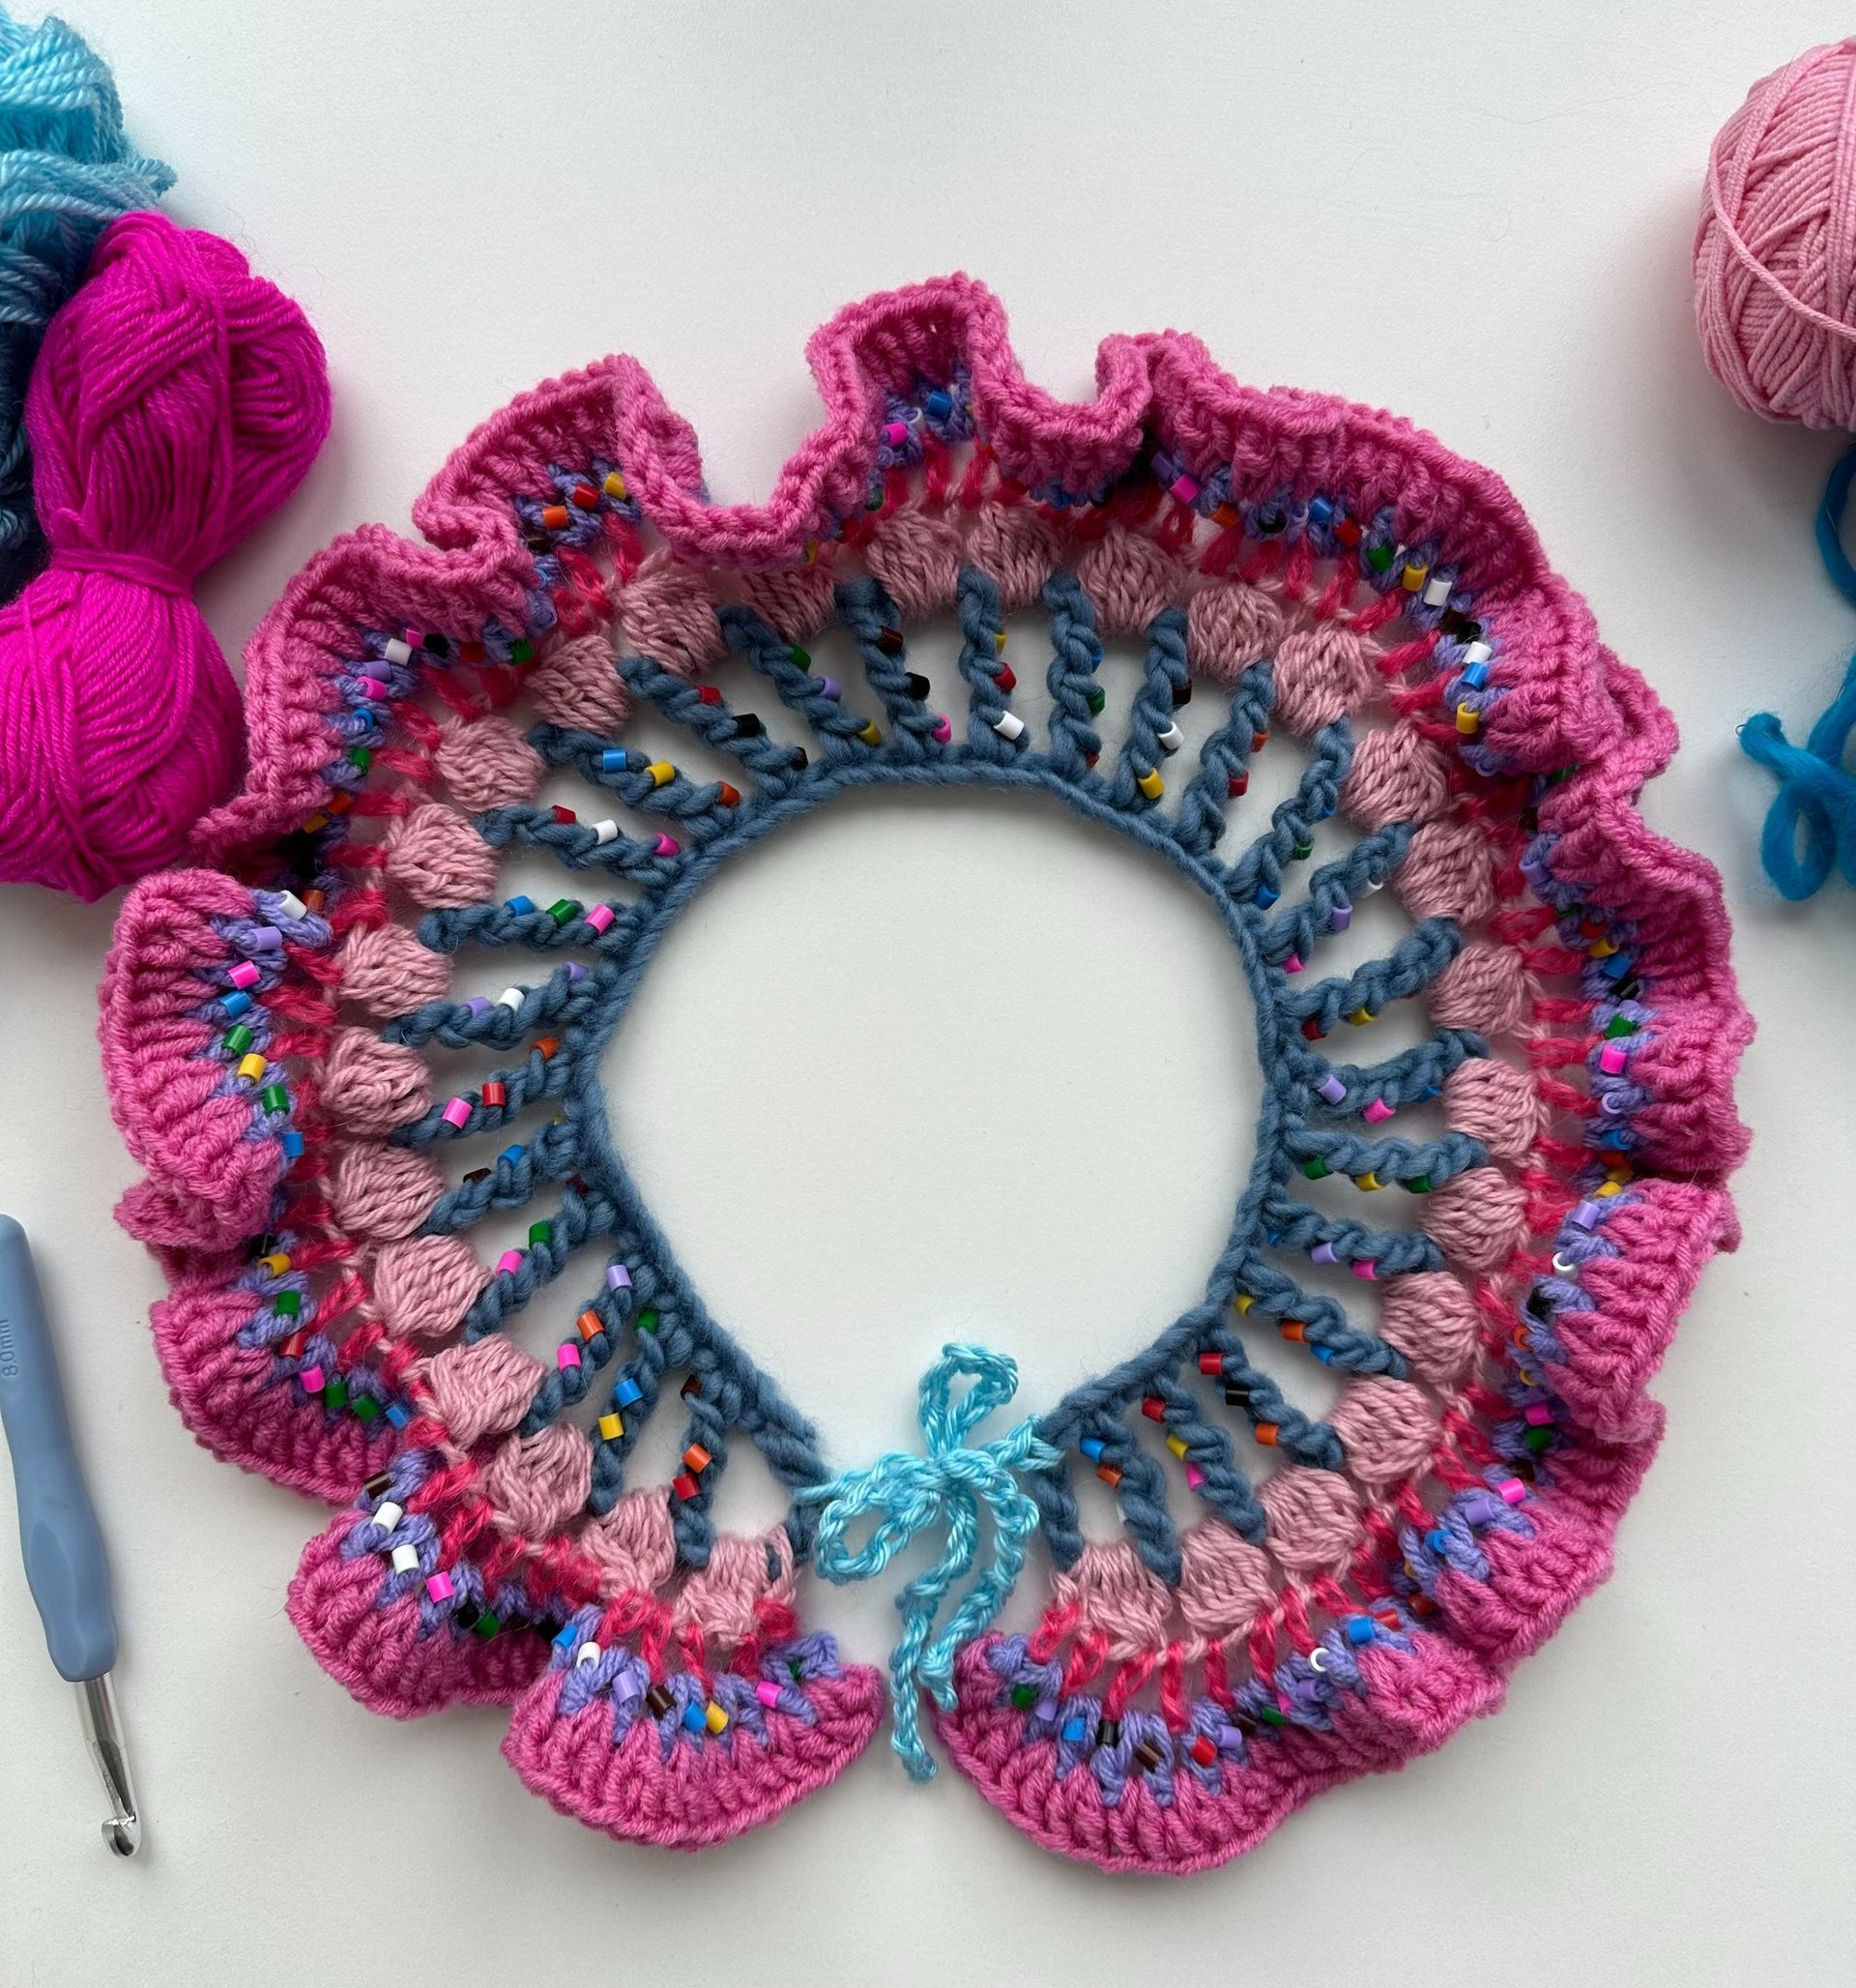
Measurements
This is a one-size pattern (47cm length and 12cm width), but it is super easily adjustable. Simply take a measuring tape and measure around your neck. Then make the first chain the desired length. Control your width by adding or taking out rounds.
Let's get crocheting!
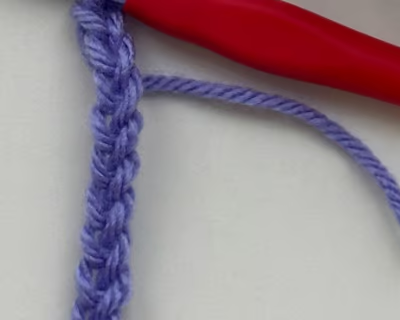
Chain your desired length (remember stitch number has to be even). Mine is 47cm long (62 stitches).
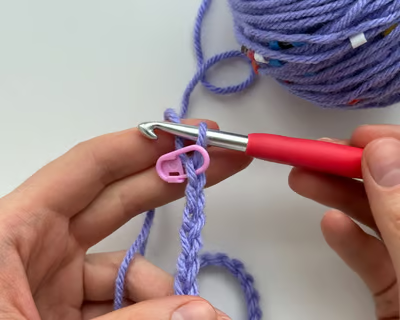
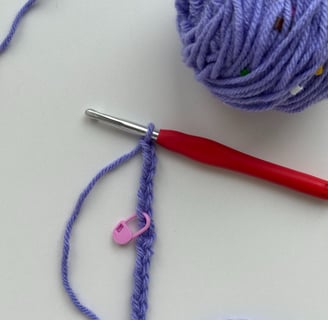
Mark your last stitch with a stitch marker.
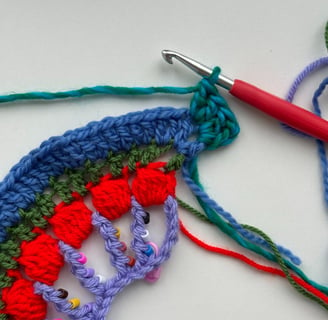
Chain 5 more stitches (they will act as our first quadruple (qtr) crochet and a chain space). Next, we will work as a double crochet but with a bit more loops :)
Wanna watch video first? Press here.
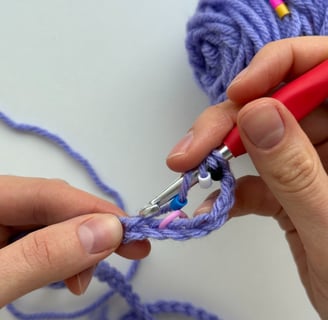
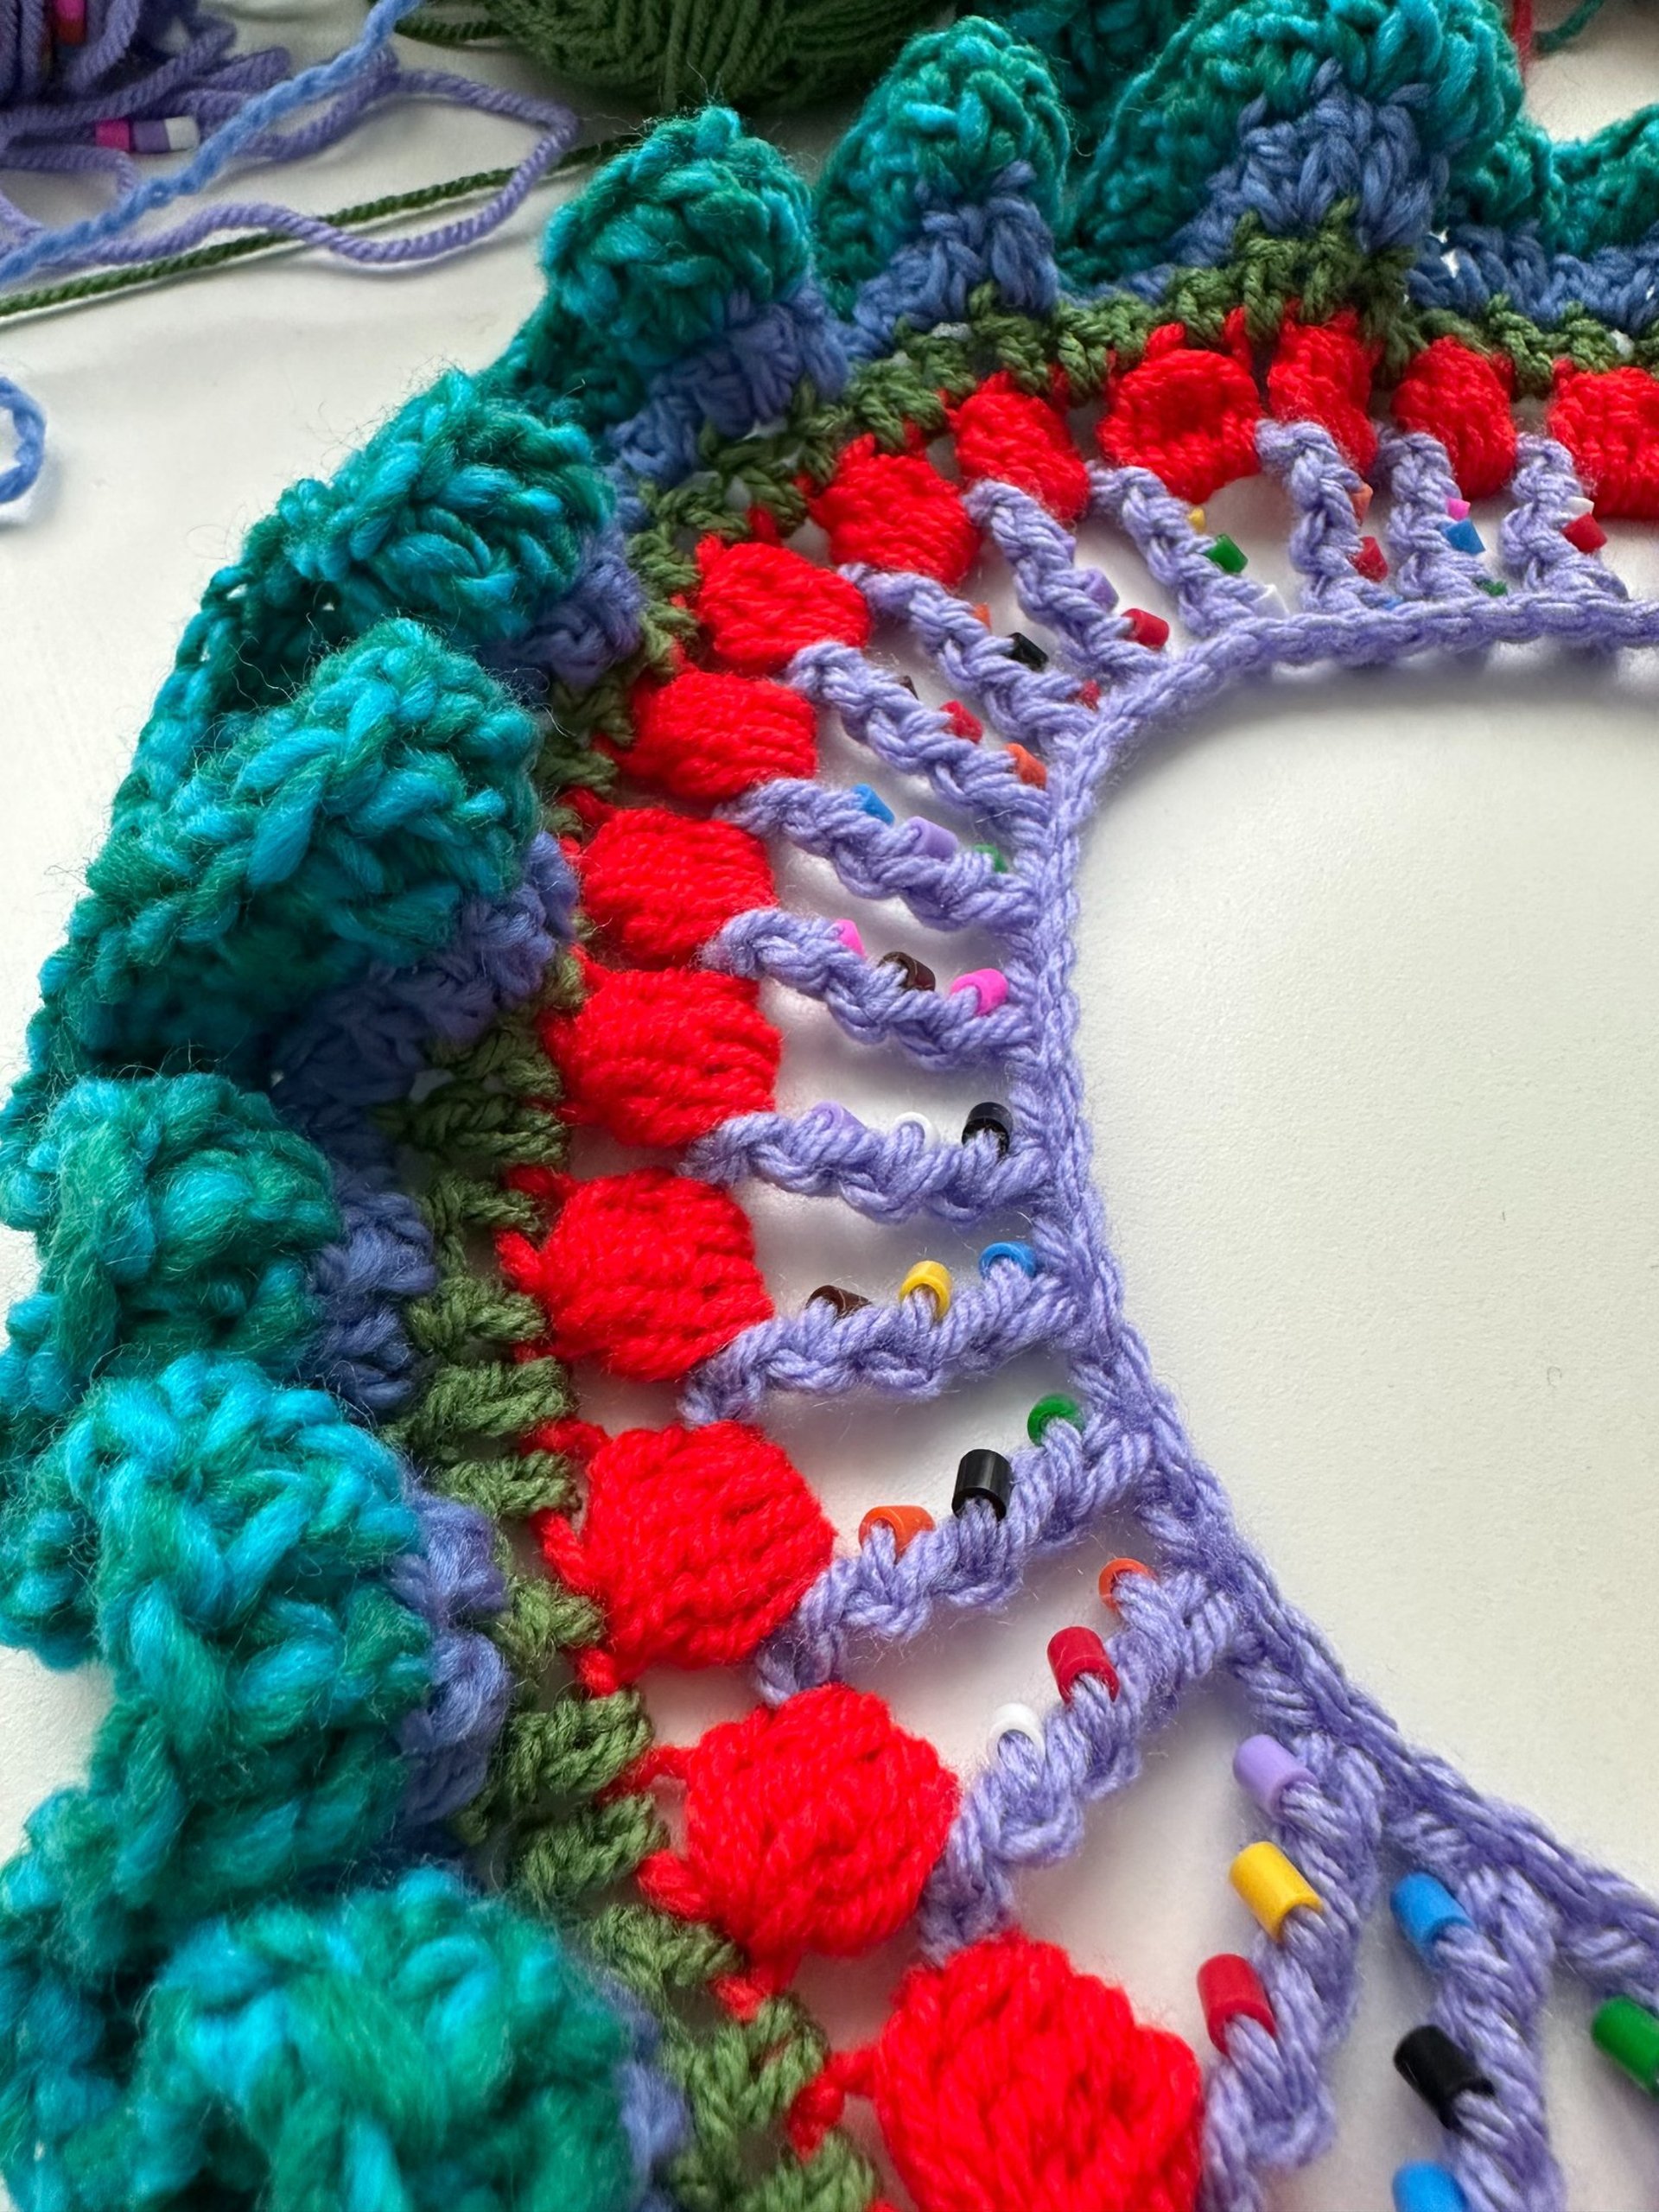
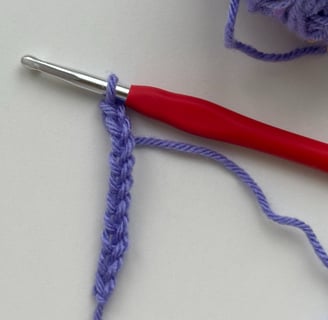
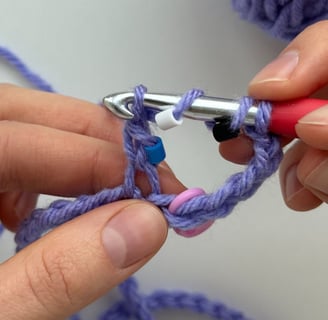
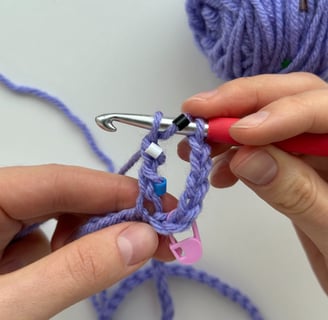
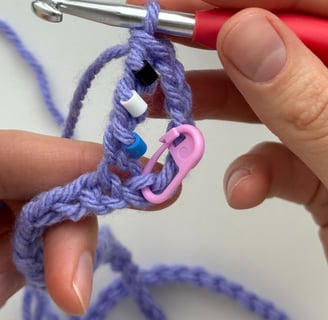
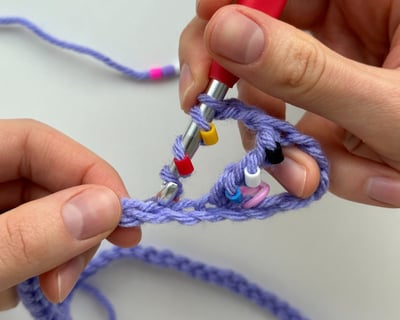
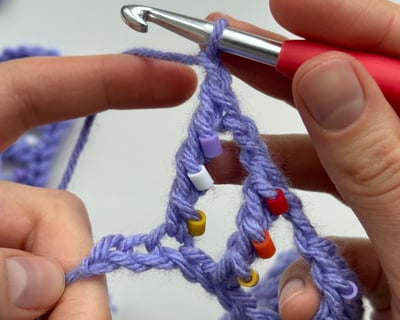
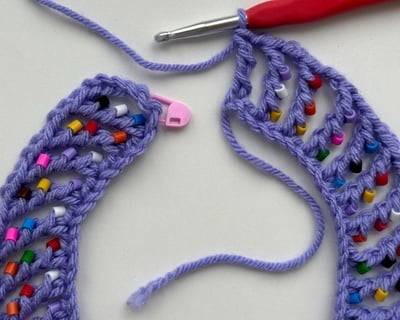
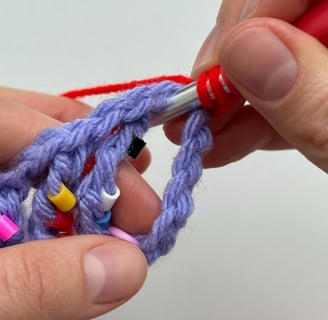
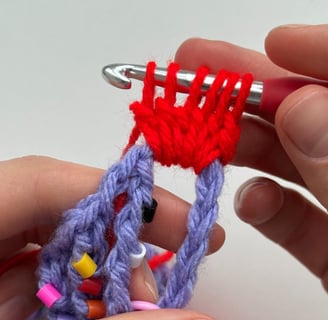
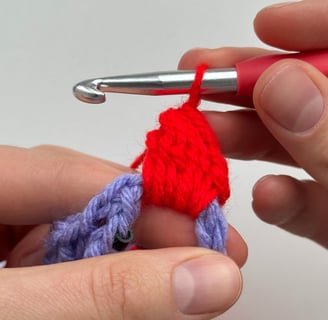
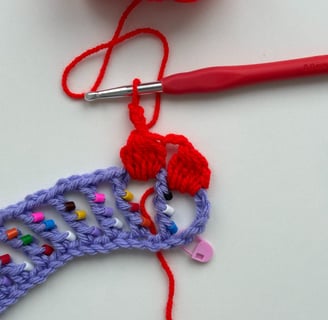
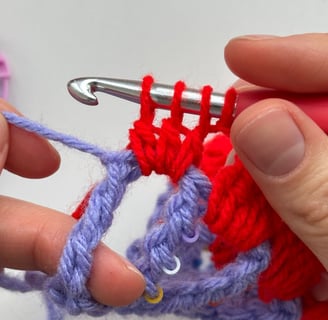
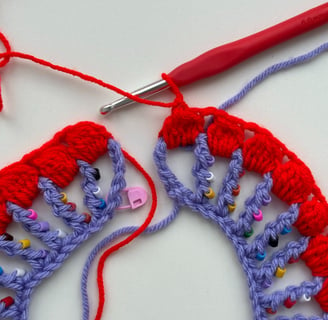
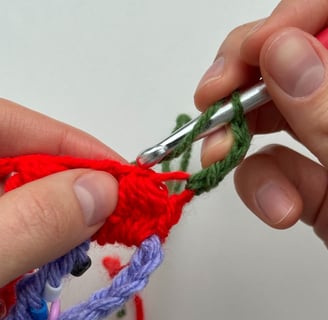
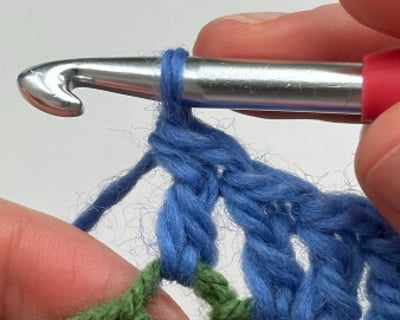
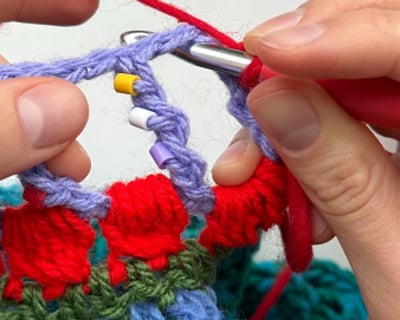
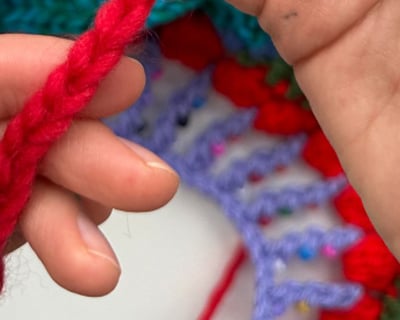
Yarn with beads over the hook three times, as shown in the first picture.
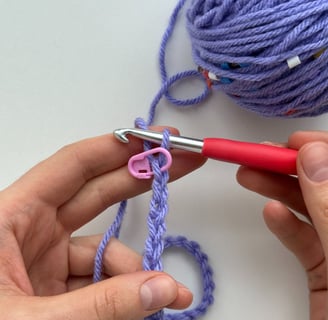
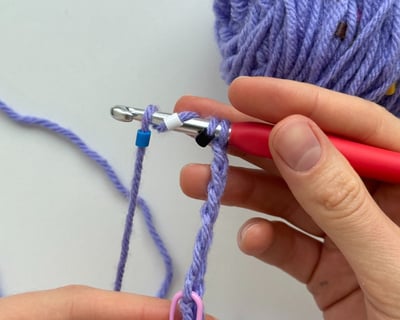
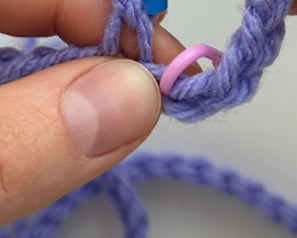
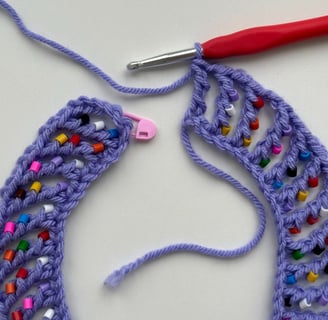
Skip the marked stitch and insert the hook through the next stitch.
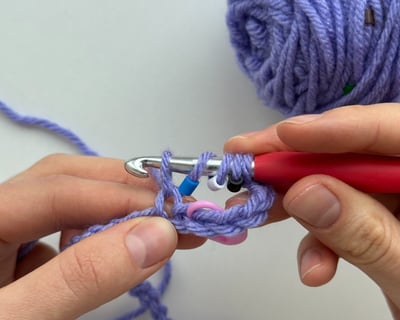
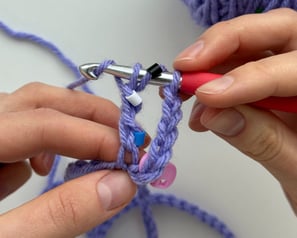
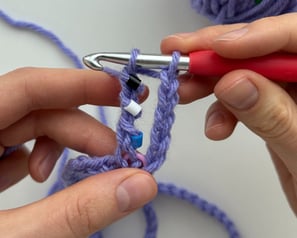
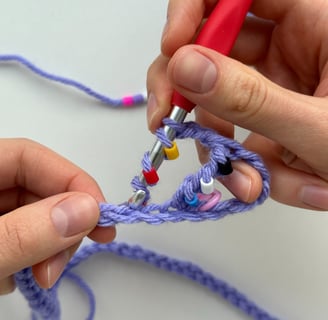
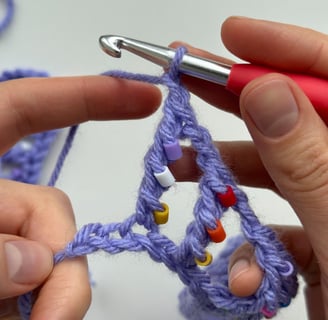
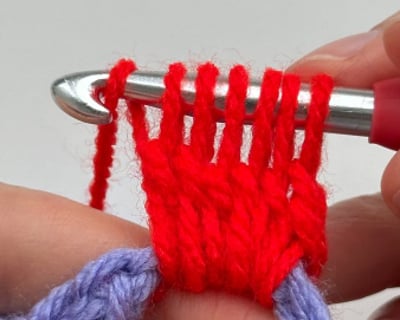
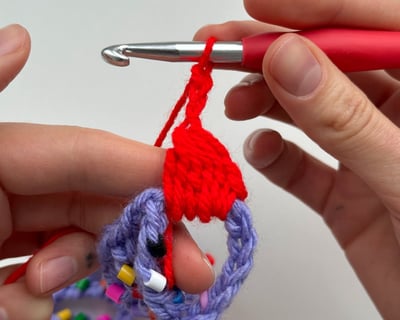
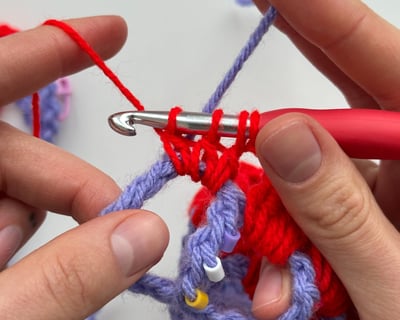
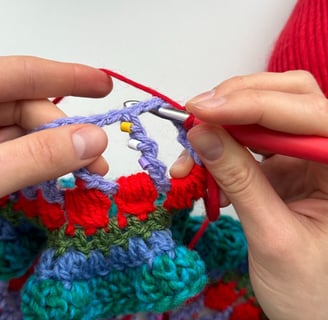
Yarn over and pull the yarn through (You should have 5 loops on your hook).
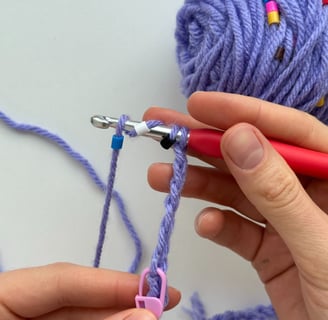
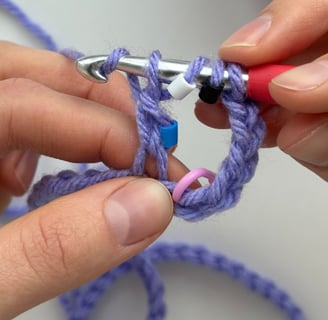
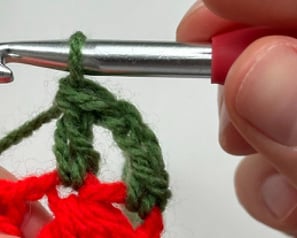
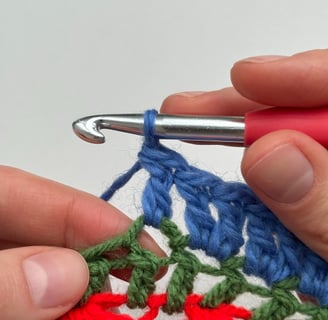
Yarn over and pull through (You should have 4 loops on the hook).
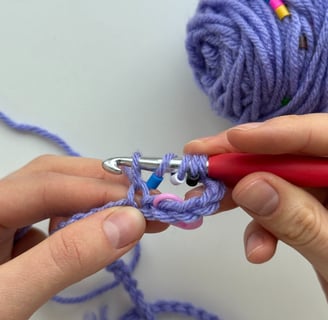
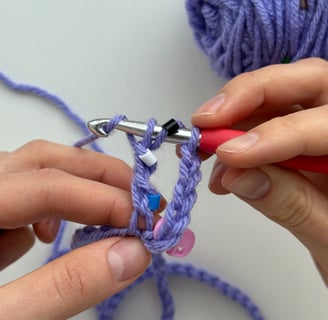
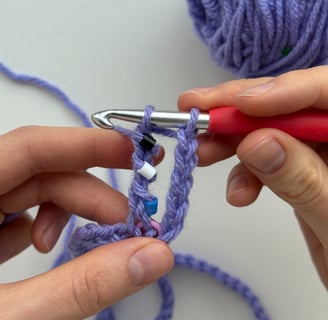
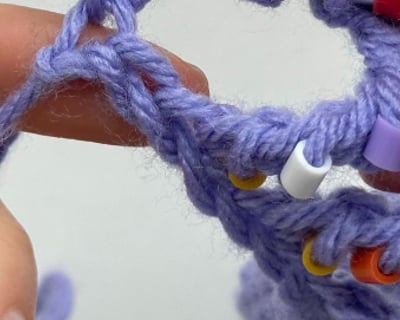
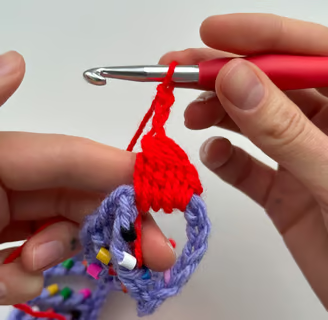
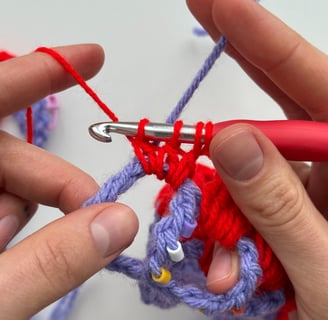
Yarn over and pull through (You should have 3 loops on the hook).
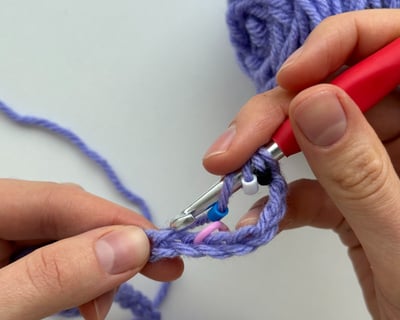
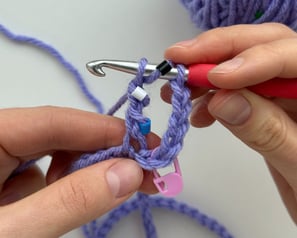
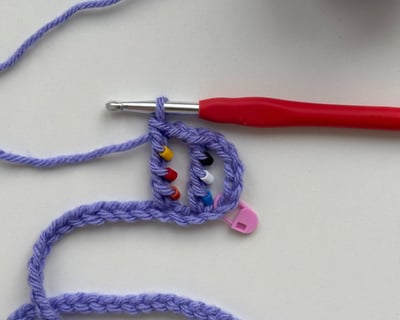
Yarn over and pull through (You should have 2 loops on the hook).
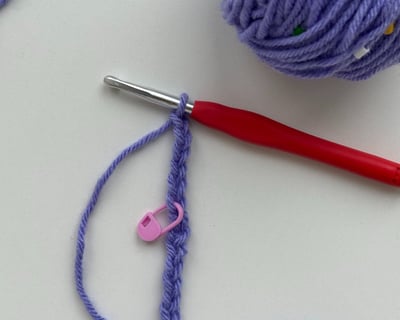
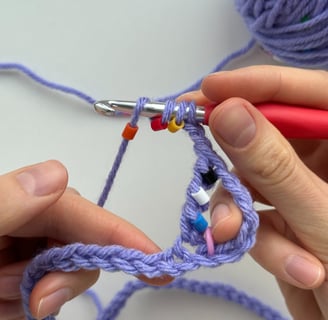
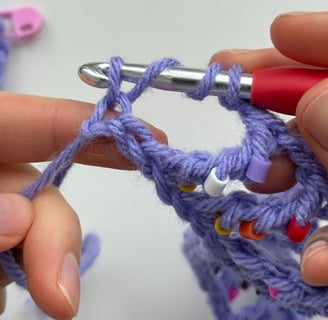
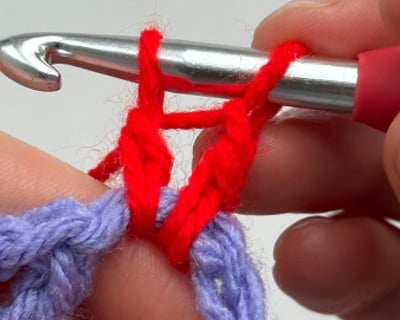
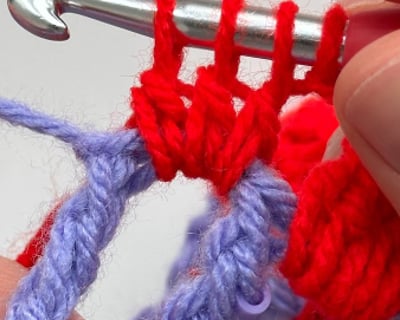
Yarn over, pull through, and there you go – you've just finished a quadruple crochet! (I told you, it's just like a double crochet but with a bit more loops hihi).
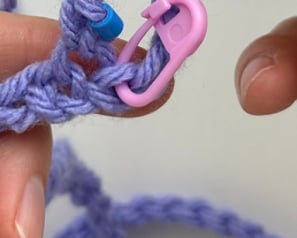
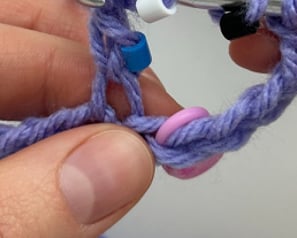
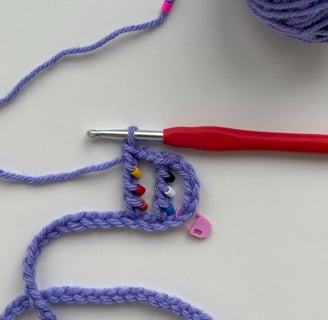
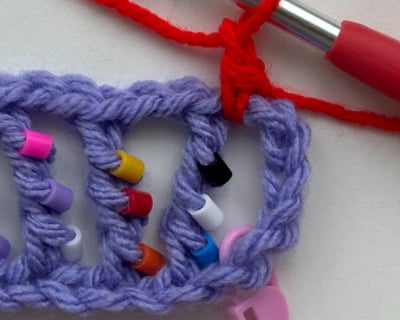
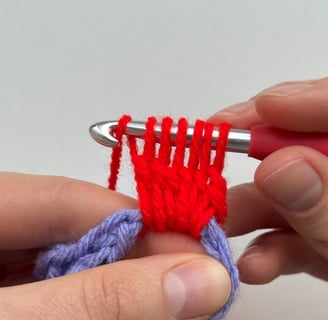
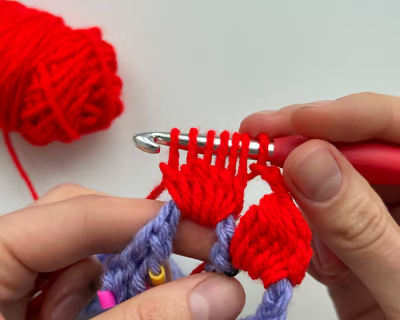
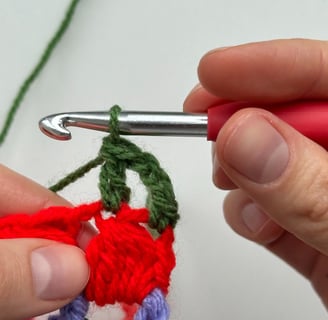
Chain 2, skip 1 stitch, and insert the hook through the next stitch. We will be creating 1 chain space (ch sp) gaps until we reach the end of the chain.
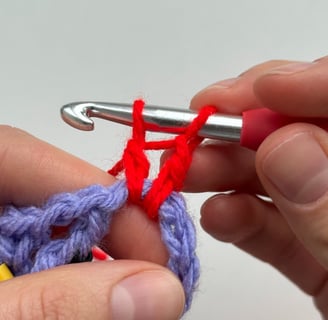
Repeat the process of the quadruple crochet stitch and chain 2.
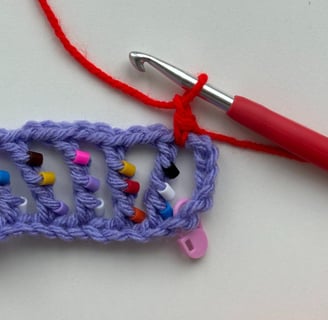
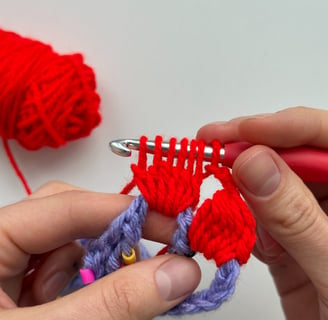
Continue this process until you reach the last quadruple crochet stitch.

Before you proceed to the last stitch, chain only 1 (previously we chained 2).
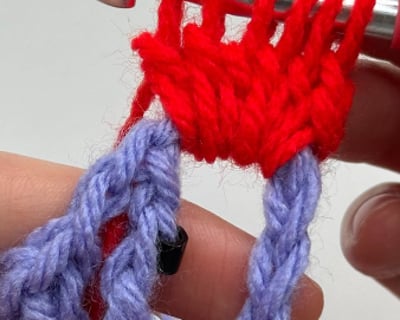
Complete the circle with a stitch without beads (matching the beginning of the circle) by yarning over only 2 times (instead of quadruple we are making treble crochet stitch). Continue process as qtr stitch.
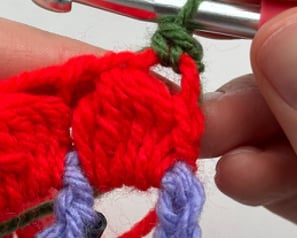
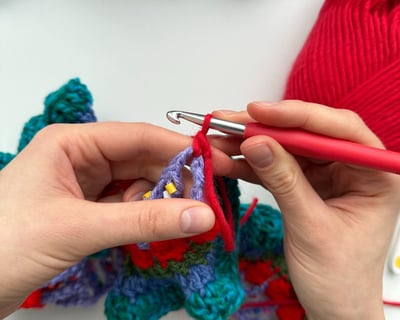
Make a slip stitch, cut the working yarn, and get ready for the next step – changing colors!
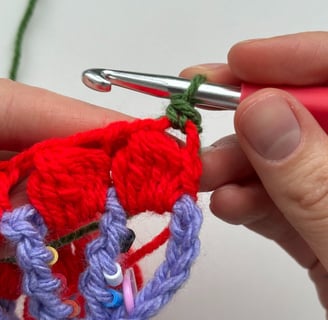
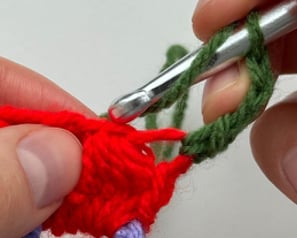
As we are working on the 'right' side only, return to the beginning of the circle and make a slip stitch in to the first ch sp, then chain 1.
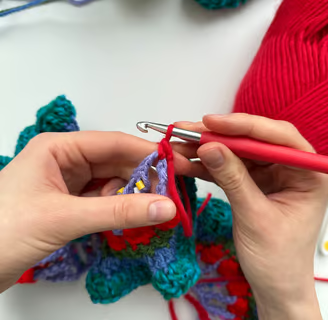
Yarn over (as if you were going to make a double crochet).
Insert your hook into the same space and pull out the loop.
Yarn over again and pull through the first 2 loops (You should have 2 loops on your hook).
Repeat this step into the same space 4 more times (similar to making a double crochet, but don't complete the second pull through the loop).

You should now have 6 loops on your hook.
Yarn over and pull through all 6 loops. There you have your first bobble stitch!
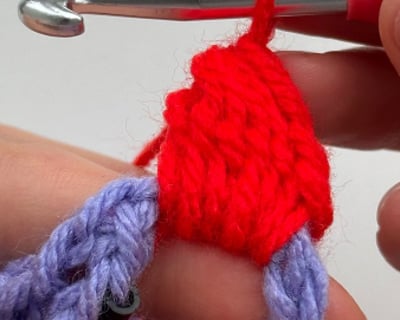
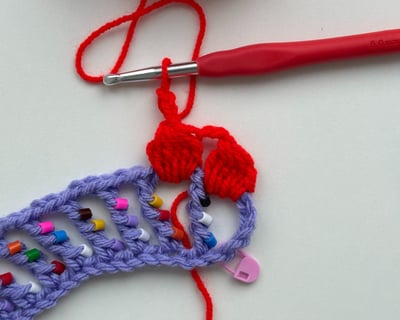
Chain 2
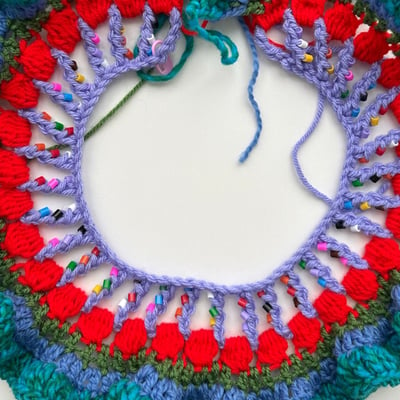
Repeat the bobble stitch process into each chain space until you reach the end. (However, there's a little trick I use at the end; read step 27)
So, the trick is that when you do your last bobble stitch, hide the end of the yarn in the middle of the bobble stitch. Make 3 unfinished double stitches before the knot, push the yarn to the other side, and make another 3 behind the knot. This will help you maintain the beautiful round shape.
Return to the beginning of the circle and switch to another beautiful color.
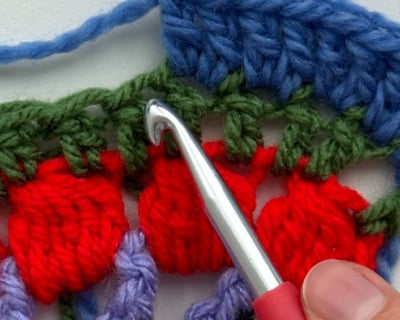
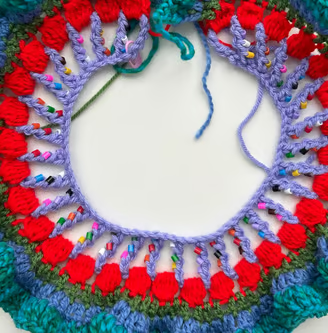
Slip stitch into the first bobble stitch and chain 2 (this will serve as our first double crochet).
Now make a double crochet into every following stitch and chain space around the circle.
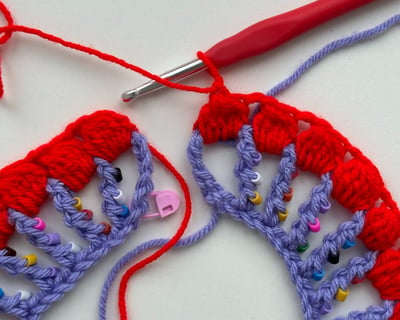
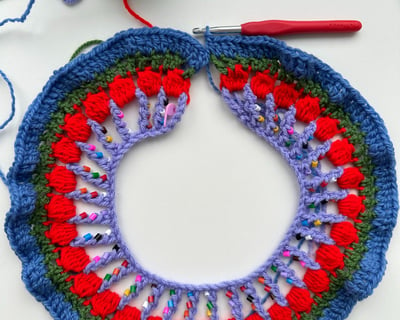
Time for Frills!
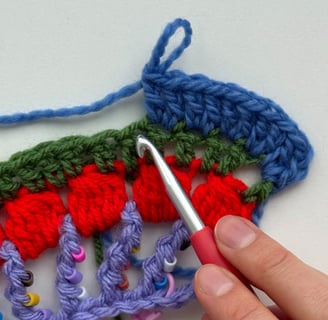
Return to the beginning of the circle. Slip stitch in to the first chain sp. Chain 1 (it wil act as our first dc) and dc in to the same ch sp.
Continue by working 2 double crochets into each stitch. Repeat this pattern until you reach the end of the circle. You should start to see little waves forming.
*If the waves are not forming or you want them to be bigger, consider using thicker yarn or try doing 3 double crochets in one stitch.
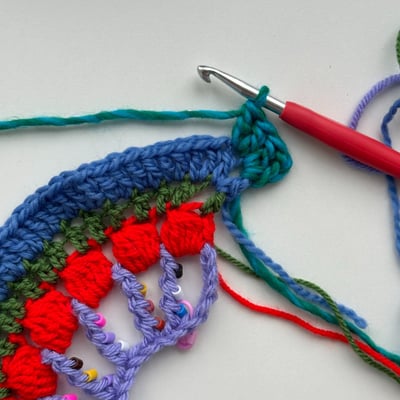
For the second frill row, change color by returning to the beginning of the circle and making a slip stitch into the first ch sp.
Continue by working 2 double crochets into one stitch and repeat this process in each stitch until you reach the end.
That's it! Now, weave in the ends (I know, I hate it too).

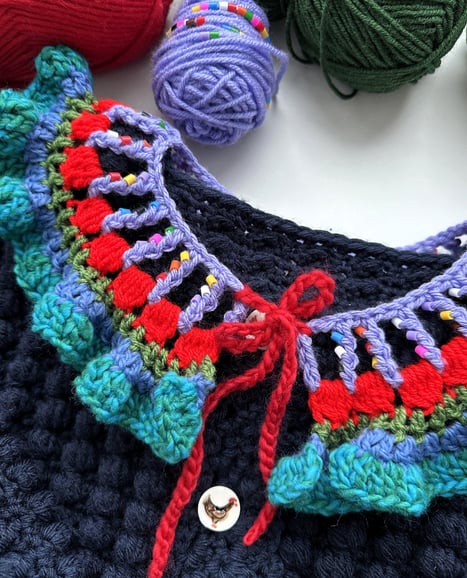
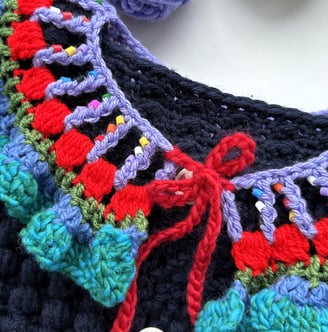
Attach strings, and... you're done!
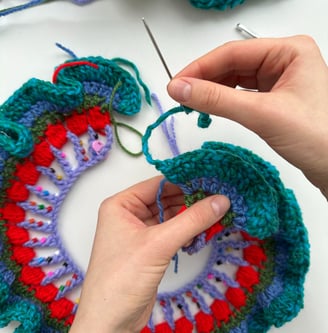
Return to the beginning of the circle and ensure your work is on the 'right' side.
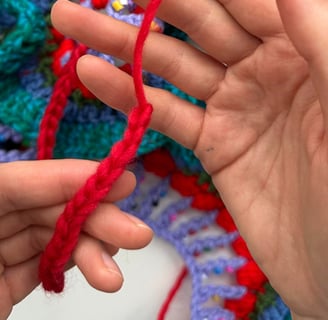
Make a slip stitch and chain a string as long as you desire. My strings are each 30cm long.
Sew in the ends, and you're done! You now have your cutest collar, and hopefully, you've used up some scrap yarn hihi
A quick video tutorial 🖤